
Have you ever thought about making baby food right in your kitchen? When you make it at home, you get to choose each ingredient and pack it with nutrition. You don’t need any fancy gadgets, just a regular blender and fresh fruits or vegetables.
It’s really simple. With these ingredients, you can blend up smooth, safe meals that help your little one grow strong and healthy. Imagine stirring purees that you made yourself, knowing exactly what’s in each spoonful. This easy method lets you create meals that are both delicious and full of nutrients, setting the stage for happy, healthy mealtimes.
Essential Foundations of Homemade Baby Food Recipes
Homemade baby food is a safe and simple way to nourish your little one. These no-cook Stage 1 purees work great for babies starting around 4 to 6 months old. All you need is a regular blender, no extra gadgets, to turn fresh or thawed ingredients into smooth, tasty meals. For example, you can blend one cup of pureed avocado or apple with a splash of breast milk for a soft, delicate texture.
Every DIY baby meal is designed with your baby's needs in mind. We guide you through easy, step-by-step blending so that each puree is smooth and delicious. If you’d like, you can thin it out with water, breast milk, or formula. Mixing bananas with foods rich in vitamin C is a clever way to help improve iron absorption too.
These fresh purees let you be creative while sticking to wholesome, natural ingredients. Besides simple fruit and veggie purees, you can try adding protein options like soft-cooked beans or mild meats. The focus is on using clean, unprocessed foods that bring out natural flavors and pack in essential vitamins.
For busy families, many of these ideas even come with a free 5-day meal prep email series. With clear instructions and simple techniques, you can make a variety of safe, nutritious purees without stress. Together, these recipes lay a solid foundation for healthy growth and joyful mealtime moments with your little one.
Equipment & Essential Tools for Homemade Baby Food Recipes
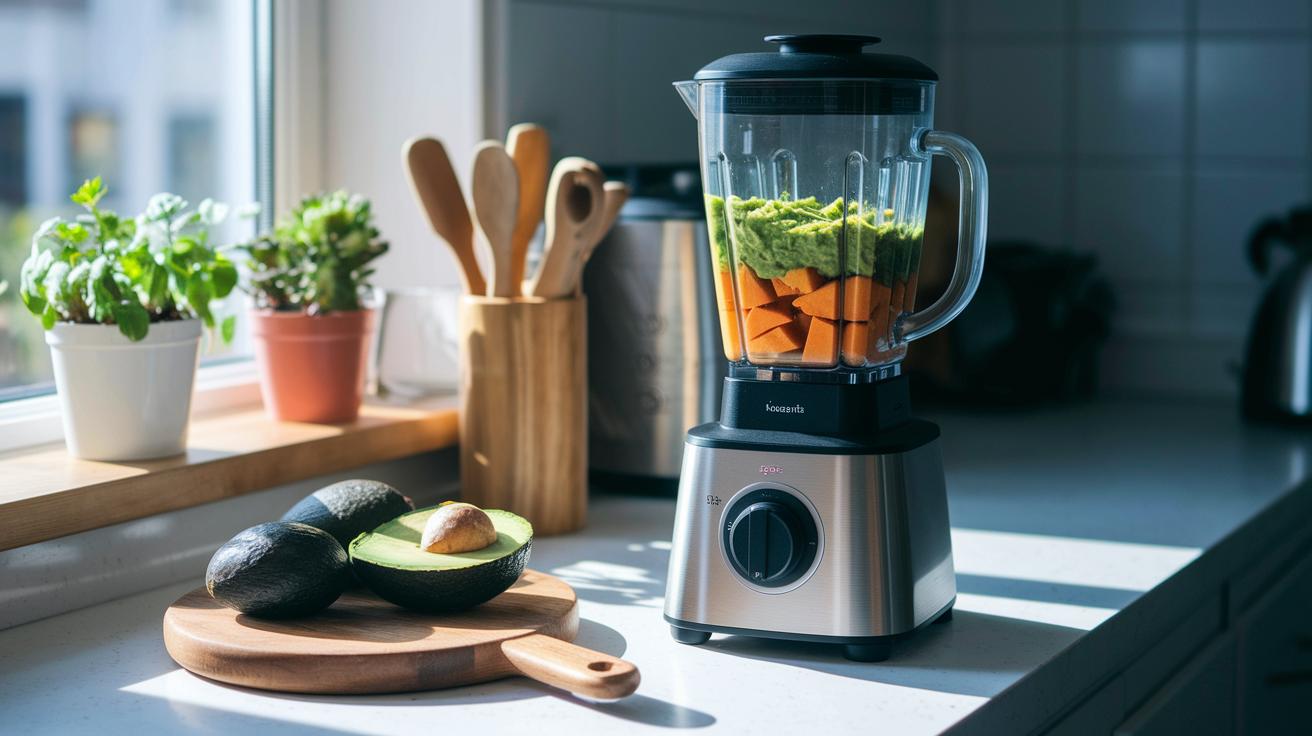
A good countertop blender can work wonders in making smooth and creamy baby food, just like those fancy baby food makers. I remember the first time I mashed an avocado until it was perfectly silky, it felt like magic right in my kitchen! Besides your blender, keep handy tools like ice cube trays and freezer bags. These little helpers let you portion out one-serving batches of pureed food that stay fresh safely for up to 3 months.
When you're roasting veggies like sweet potatoes, preheat your oven to 400°F so they become soft and easy to blend. I even recall roasting sweet potatoes until they were so tender that they practically melted off my spoon, a clear sign they were ready for your little one. And don’t forget a simple peeler and a sturdy knife; they make prepping your ingredients into nutritious meals much easier.
Keeping your equipment clean is key, too. Regular washing and good sanitation help make sure every meal you prepare is safe and delicious for your child.
Beginner’s Guide to Stage 1 & Stage 2 Homemade Baby Food Recipes
When your baby is ready to try solids, usually around 4 to 6 months, it’s best to start with Stage 1 purees made from one ingredient. Picture a smooth, gentle blend of avocado or apple, so soft it almost turns liquid. You want to mix it until every bit is as smooth as can be. Sometimes, if you’re using fruits with skins or if the puree feels too thick, you can strain it or add a little water, breast milk, or formula.
Now, as your baby grows and gets used to purees, you can move on to Stage 2. This stage is all about mixing ingredients to introduce a bit more texture. For example, blend a ripe banana with some sweet potato. It’s a great idea to taste the fruit on its own first, if one is a bit tart, mix it with a sweeter one to get a balanced flavor. Blend the ingredients slowly, checking the texture as you go, and add extra liquid until you reach the perfect mix of smooth and a little bit chunky.
- Taste each fruit before you blend to help adjust the flavor later.
- Change the texture gradually to help your baby move from liquids to solids.
This guide is your first step to making nutritious, homemade baby food that is both gentle and tasty. Enjoy the process, and know that every little spoonful is a loving step for your baby.
Flavorful Homemade Baby Food Recipes: Fruits, Veggies & Proteins
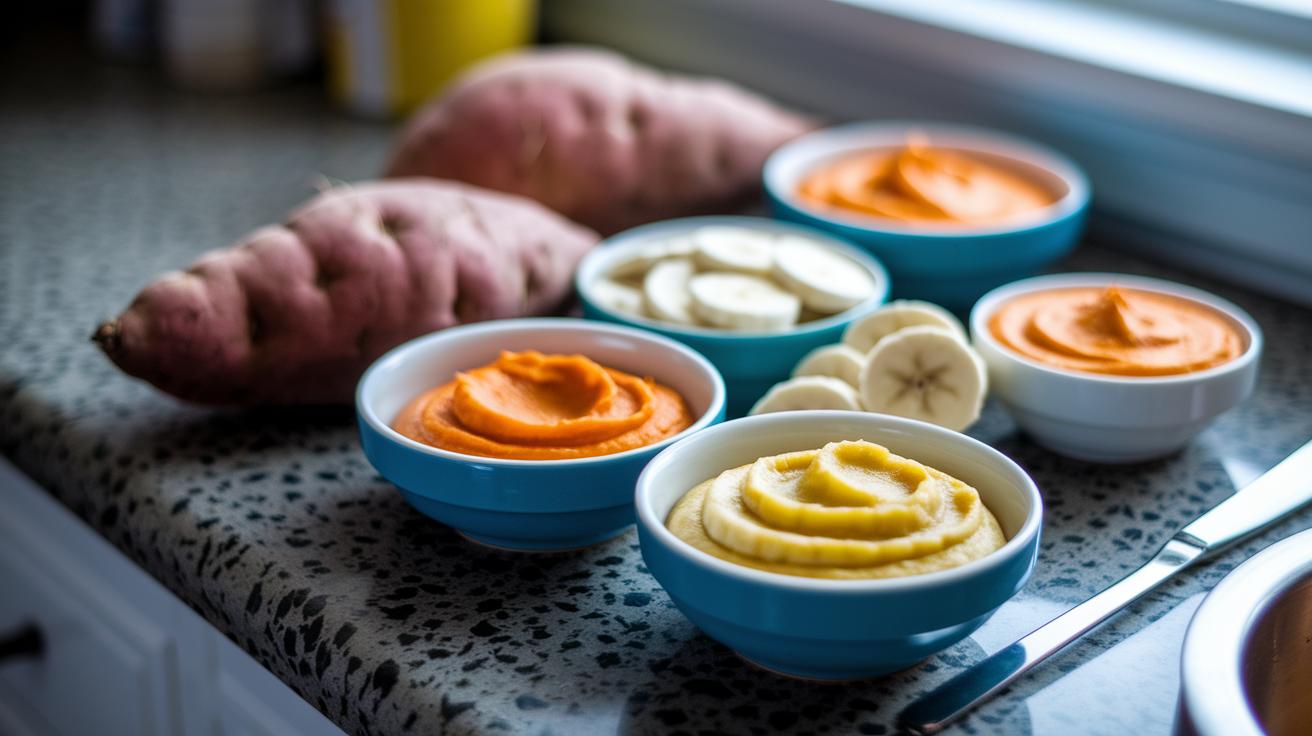
Sweet potatoes work great as a base for many purees. Start by peeling one medium sweet potato and cutting it into small pieces. Roast these pieces in an oven set to 400°F until they’re soft, then blend them until you get about 1 cup of smooth, creamy mash. Imagine each spoonful bursting with natural sweetness!
Whole-grain brown rice also makes a wonderful base. Cook the rice until it’s light and fluffy, then measure out at least 1 cup before blending it into a silky paste. A handy tip is to let the rice cool a bit while you get the other ingredients ready, so your mix turns out extra smooth.
A gentle chicken puree is a great protein-packed option. Boil or lightly roast skinless chicken until it’s very tender. Then, chop it up and blend it until you achieve a fine, smooth mash. Think of it as a creamy blend that’s gentle on your baby’s developing tummy.
For a fruity twist, try blending peeled pears with ripe bananas. Use about 1 cup of these fruits and mix them until the texture is smooth yet rich in flavor. It’s a naturally sweet combo that can brighten up any meal!
For something a little different, stir together cooked beans and a dollop of whipped peanut butter. Blend about 1 cup of beans with the peanut butter until you have a mild, well-combined puree that even little self-feeders can enjoy.
- Peel and prepare each ingredient on its own.
- Roast, boil, or cook every ingredient until it reaches the right softness.
- Blend well until each puree becomes smooth.
Enjoy the burst of nutrients and the delightful textures these recipes bring to your baby’s mealtime!
Storage & Batch Preparation Techniques for Homemade Baby Food Recipes
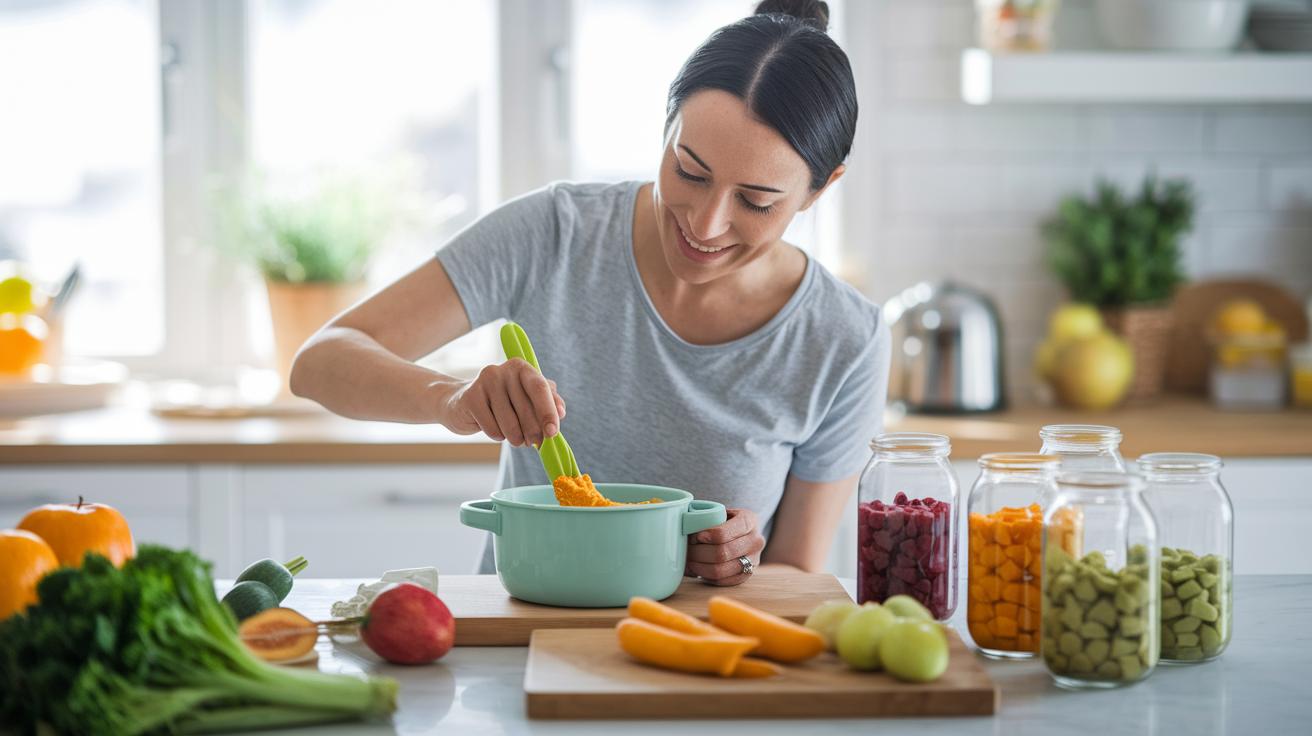
Making baby food in batches can really simplify mealtime. When you cook your puree in one-cup servings, each batch is just right for blending and freezing quickly. Pour your fresh puree into an ice cube tray so that each square fills up nicely. For example, you might think, "I’ll fill each section with one cup of mashed sweet potato, so one cube gives the perfect serving later on."
Once the tray is full, pop it into your freezer until the cubes are completely solid. Then, gently remove them and transfer the frozen cubes into a labeled freezer bag. This way, your puree stays safe and fresh for up to three months while making it easy to serve the right amount.
- Store each portion separately to help with meal planning.
- Make sure the food cools evenly and check that there are no warm spots when you heat it up.
Let the cubes thaw slowly in the fridge, or warm them gently on the stovetop, stirring lightly to break up any clumps. This simple method not only makes meal prep fun and stress-free, but it also helps ensure that your little one’s meals are both nutritious and safe.
Allergy-Safe & Nutrient-Enriched Add-Ons in Homemade Baby Food Recipes
Making your own baby food is a lovely way to show you care. By mixing in allergy-safe, nutrient-rich additions, you not only boost your little one’s meal but also keep snack time gentle and fun. One simple trick is to stir in foods like whipped peanut butter or well-cooked beans. They blend smoothly into purees, adding a bit of extra protein without overloading your baby’s delicate tummy.
You can also brighten up the meal with fruits that are high in vitamin C, like mashed oranges or strawberries. A tiny splash of zesty orange in a soft chicken or sweet potato puree might seem small, but it helps the body use iron from other foods more efficiently. And if you’re feeling adventurous, try adding a little sprinkle of mild herbs such as basil or parsley. Start with just a pinch and taste as you go, to make sure the flavor stays gentle and just right.
- Whipped peanut butter and cooked beans add protein safely.
- Vitamin C fruits help boost iron absorption.
- Tiny amounts of mild herbs offer a subtle flavor lift.
For babies who are sensitive to dairy or soy, consider using alternatives like coconut milk. This thoughtful approach keeps your homemade baby food both safe and packed with good-for-you nutrients.
Tips for Success with Homemade Baby Food Recipes: Parental Guidance & Safety
Plan every step with love so that each meal is safe and fun for your little one. Begin by washing your fruits and vegetables really well to get rid of any dirt. And don’t forget to clean your blender or food processor right after you’re done so nothing unwanted lingers. It’s a good idea to try a little bit of your puree first; add a splash of water, breast milk (the milk from your breast), or formula if you need to smooth out the taste.
When you’re warming up or reheating the food, take extra care. Test the temperature gently with a clean fingertip or a spoon to make sure it isn’t too hot for your baby’s sensitive mouth. Listen closely for the little signs your baby gives, those small expressions and gestures can tell you when they’re ready to try new textures or tastes.
- Rinse all fruits, vegetables, and proteins carefully.
- Clean and sanitize every tool and utensil right after using them.
- Always check the flavor and temperature before serving.
- Keep an eye on your baby’s reactions to know when they’re ready for the next food stage.
Using many fresh ingredients not only gives your baby balanced nutrition but also makes mealtime a happy, secure moment for both of you.
Final Words
In the action, homemade baby food recipes offer a simple, safe way to feed your little one thoughtfully. The guide covered everything from choosing the right tools, mastering smooth purees, and mixing flavors to managing storage and allergen-friendly add-ons. Each step is designed to simplify meal prep while keeping nutrition a top priority with easy-to-follow tips and reminders. Remember, every small effort adds up to a meal that nourishes and comforts. Enjoy creating care-filled meals that bring a smile to your family’s day.
FAQ
What homemade baby food recipes are best for different age groups (4–6 months, 6–8 months, 7 months, 9–12 months, and 12–18 months)?
The homemade baby food recipes for various age groups include no-cook, smooth Stage 1 purees for 4–6 months, gentle single-ingredient blends for 6–8 and 7 months, and thicker, mixed-ingredient recipes for 9–12 and 12–18 months.
What is considered the best homemade baby food?
The best homemade baby food focuses on fresh ingredients and age-appropriate textures; it offers balanced nutrition by blending fruits, veggies, and proteins using simple, safe techniques.
Is it really cheaper and worth making your own baby food?
The homemade baby food option proves cost-efficient by reducing reliance on prepackaged foods, while also letting you control ingredients and nutritional quality, which benefits your child.
How do I get started making my own baby food?
The homemade baby food process starts with choosing fresh or thawed frozen ingredients, using a regular blender, and following clear steps to prepare safe, smooth purees for your baby.
What are some easy, healthy homemade baby food recipes I can try?
The easy, healthy homemade baby food recipes include options such as avocado or apple purees, roasted sweet potato blends, and simple fruit mixes that meet infant nutritional needs with minimal fuss.
What baby food combinations or lists exist for 6- and 7-month-old infants?
The baby food combinations for 6- and 7-month-olds include single-ingredient purees and mild blended mixes that combine fruits and vegetables, ensuring softer textures that support gradual progression in solids.

